Increase the speed of your ASP.Net Web Sites using Bundle and Minify.
We all want to increase the speed of our ASP.Net sites. Using bundle and minify to help keep code separate but still have good performance.
I have been trying to migrate to the MVC methodology over the past few weeks and in doing so I have discovered some things that can help even in Web Forms projects. One of those is the concept of bundles. This handy little feature is part of the MVC 4.0 framework and is pretty much part of the standard start up of any new MVC 4.0 project. But the fact that you can leverage this in your existing Web Forms project is a side benefit. I did a little research on it and found very little explanation of how to use this hidden feature in your Web Forms projects. I have blogged before about the power of the @Import tag in CSS and why you should not use it in a live production site. It slows things down in a production site, but if you are like me you hate to have all that code in one giant CSS file. This is where the power of bundles and minify come in. You get to keep the separation of files for your development and debugging, but will gain the speed of one file in the production site. All automatically!
So there are some steps involved in getting this set up.
First you need to install or add a reference to the System.Web.Optimization library. You can do this in Visual Studio using the Package Manager or NuGet:
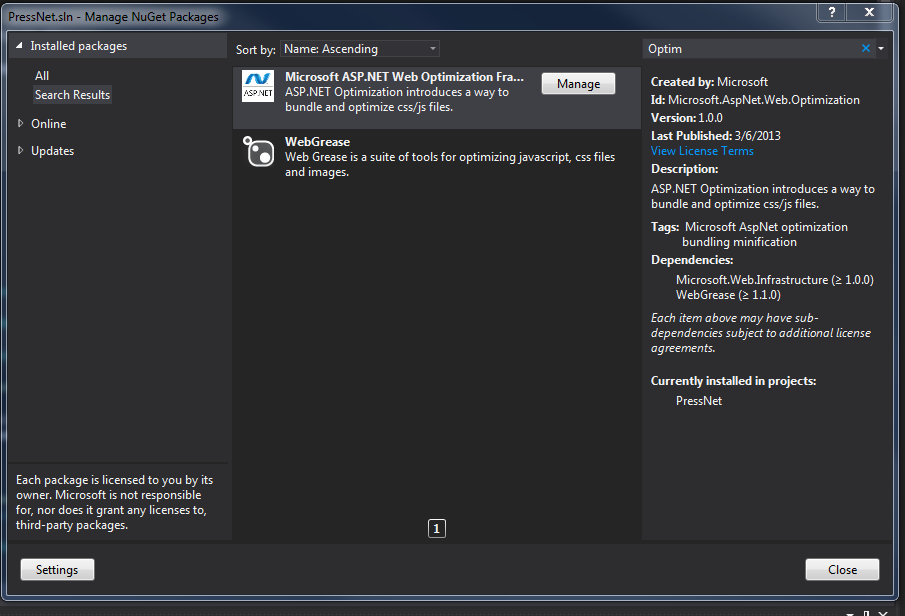
Here I have it installed already. Installing this will add the references you need to make this all work.
To keep things clean I created a class file inside my project called BundleConfig.cs (The same as in an MVC project.)
In this new class you will need to add the:
1 | using System.Web.Optimization |
You can remove all the rest except the
1 | using System |
Then I added a method as follows:
1 2 3 4 5 6 7 | public static void RegisterBundles(BundleCollection bundles) { bundles.Add(new StyleBundle("~/Styles/css").Include( "~/Styles/MasterStyles.css", "~/Styles/Site.css", "~/UXReporting/Styles/Admin.css" )); |
1 2 3 4 5 | bundles.Add(new ScriptBundle("~/Scripts/jquery", "//cdnjs.cloudflare.com/ajax/libs/jquery/{version}/jquery.min.js" ).Include( "~/Scripts/jquery-{version}.js" )); |
1 2 3 4 | bundles.Add(new ScriptBundle("~/Scripts/js").Include( "~/Scripts/MasterPage.js" )); } |
So there is a bunch of stuff happening here. If I start at the top I am creating a “StyleBundle”. The first string is a virtual path that will be created and all the CSS files that follow will be compiled into one at that virtual location. Something to remember is that this will only happen in the release version of your site. If you run the site in debug you will see all the individual files in your inspect element view.
The next bundle is a ScriptBundle with a CDN reference, but for development purposes you should have a local copy of the javascript file. There is also some code you should add just in case the CDN request fails, but I will cover that a little later. It is important to keep the CDN requests separate otherwise you will be losing the benefits of the CDN. So if you have another CDN reference that should be another “Add” to the bundle.
One side note about the paths to the files: you will notice the “{version}” this tells ASP.Net to look for the latest version of the file. So as the versions change you will not need to keep changing the code for the new version. There are wildcard characters that can be added to the strings to make ASP.Net look for other things, but they are covered pretty well all over the internet.
Finally is another ScriptBundle for all the custom Javascript I had. Right now I only have the one file, but I can see having several through out the project. Like the Styles you can list them one after another separated by a comma.
Ok so now we need to make this all work and there are a couple of differences from ASP.Net MVC. First we need to register these bundles with the framework. We do this in the Global.asax file.
This is pretty simple just one line:
1 2 3 4 5 | void Application_Start(object sender, EventArgs e) { BundleConfig.RegisterBundles(BundleTable.Bundles); // Code that runs on application startup } |
Note: You will need to add the “using” statements at the top of the file for the System.Web.Optimization and one for your BundleConfig.cs file.
Ok here is where it gets a little confusing. Most of the sites that I looked at stated you could just add the following to your head tag:
1 2 | <%: Scripts.Render("~/Scripts/jquery") %> <%: Styles.Render("~/Styles/css") %> |
Note: The string inside is the virtual path you created in your BundleConfig.cs file. But if you do this you will get an compiler error. What you will actually need to do is wrap your lines inside of a asp:placeholder like the following:
1 2 3 4 | <asp:PlaceHolder runat="server"> <%: Scripts.Render("~/Scripts/jquery") %> <%: Styles.Render("~/Styles/css") %> </asp:PlaceHolder> |
From here you should be good to build and test things out. Again I want to note that in debug on your local machine you will not get the “minifyed” version of the files. If you want to see this you will need to change the debug setting in the web.config file from “true” to “false”.
1 | <compilation debug="true" targetFramework="4.0" /> |
Hopefully this helps those who want to leverage the power of bundles CSS and Javascript in their Web Forms projects.